METALLOGRAPHY AND MATERIALS TESTING
Our materials expertise on a scale from one to ten: Eleven.
In the Westfälische Stahlgesellschaft’s own testing laboratory, numerous non-destructive and destructive material testing methods are used for incoming material testing, process testing and release testing. Precise production measurement technology in combination with modern production facilities and a certified quality management system guarantee consistently high quality. In addition to the extensive operational eddy current testing for surface defects, which can be carried out both in the production lines at the Plettenberg drawing mill and as a separate test, there is also the possibility of testing for internal defects using ultrasound. An ultrasonic testing method known as phased array testing is also in use. This enables the inspection of surface defects as well as near-surface defects and core defects in a single pass. Practically the entire volume of a peeled or drawn bar steel is thus tested for non-metallic inclusions, pores, cracks or other imperfections.
Furthermore, geometric parameters such as concentricity and roundness as well as numerous surface parameters such as roughness depth are measured in the laboratory. In addition to the Brinell, Vickers and Rockwell hardness testing methods, computer-aided tensile tests up to a tensile force of 600 kN can also be carried out. Both mobile and stationary emission spectrometers are available for determining the chemical composition. In metallography, metal microscopes are used in addition to stereomicroscopes. The microstructure of the steels can be evaluated by light microscopy at up to 1,500x magnification.
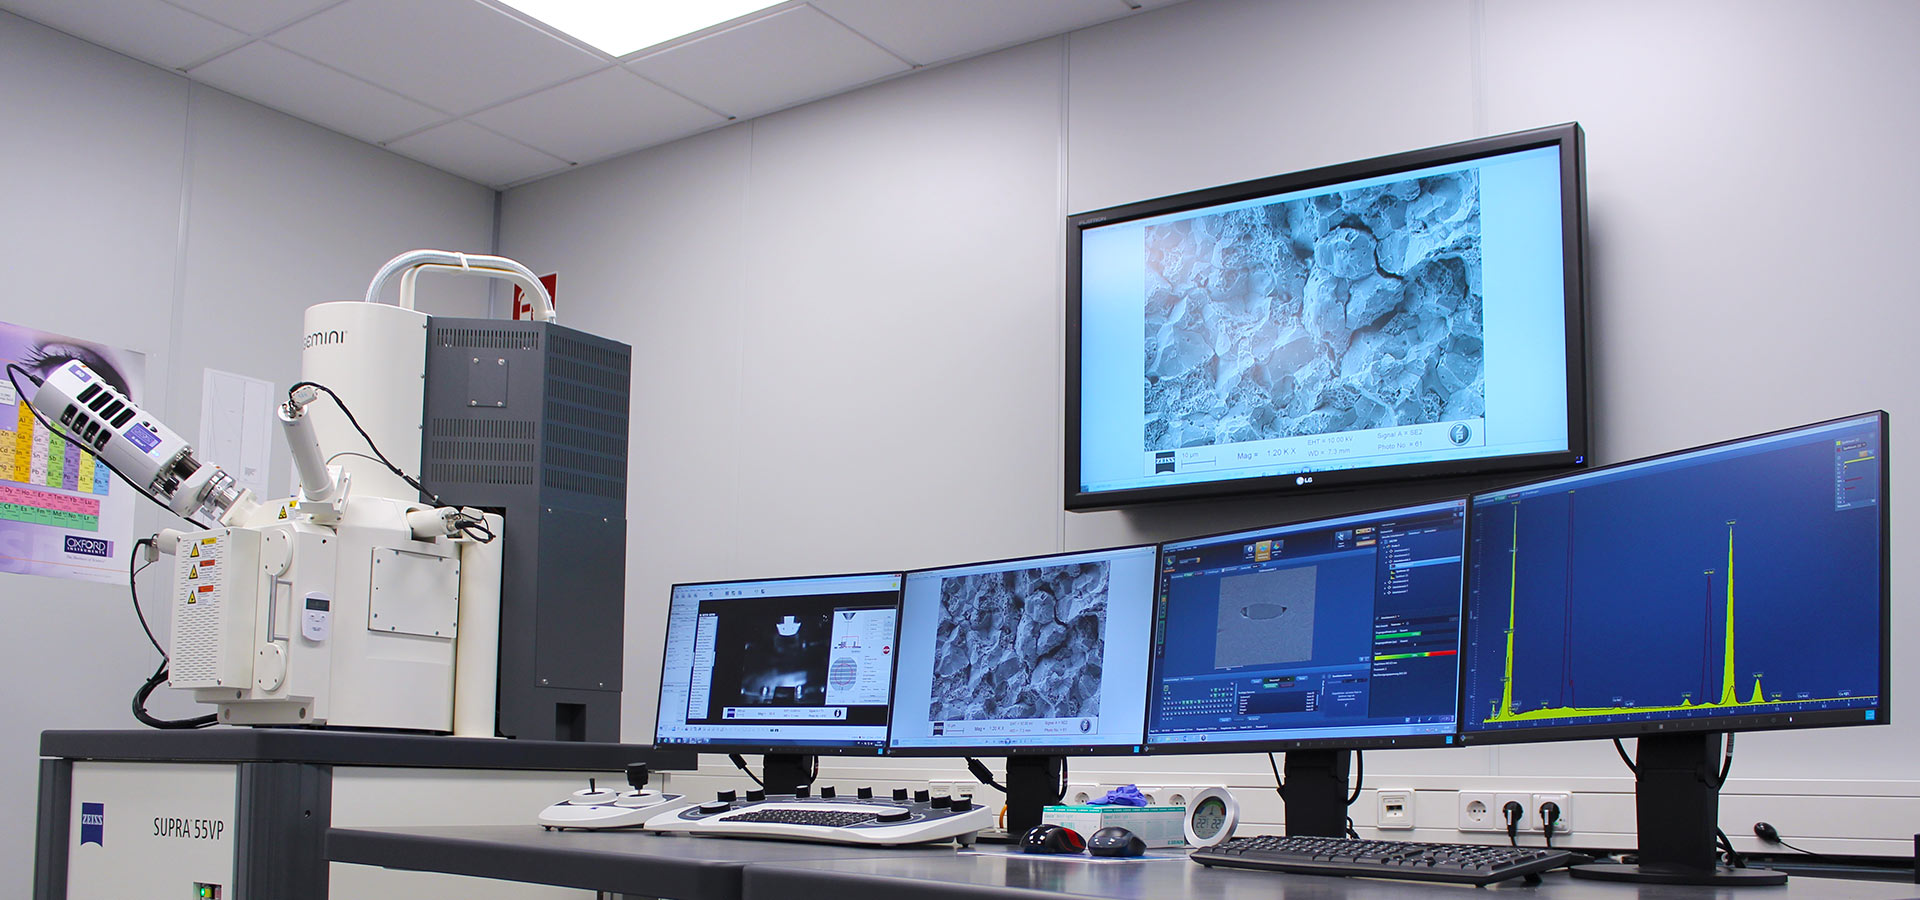
Using a scanning electron microscope, material investigations can be carried out in a magnification range from 12.5:1 to 1,000,000:1.
You benefit from our materials expertise above all by way of one thing: first-class product quality.
Determination of mechanical material properties
- Determination of the characteristic values of the tensile test according to DIN EN ISO 6892 using a 1,200 kN large force testing machine (both force and strain-controlled possible)
- Determination of hardening parameters and flow curves
Determination of mechanical-technological properties
- Hardness test according to Brinell (HBW 1/30, HBW 2.5/187.5 and HBW 5/750)
- Hardness test according to Vickers (HV 5, HV 10, HV 30)
- Determination of small force hardness according to Vickers (HV 0.2, HV 0.3, HV 0.5, HV 1, HV 2, HV 3)
- Hardness test according to Rockwell (HRB, HRC)
- Determination of the notched bar impact energy
- Determination of residual stresses by measuring geometric model bodies and/or X-ray diffractometry
Chemical analytics
- Optical emission spectrometry under shielding gas
- X-ray fluorescence analysis
Metallographic examinations (light optics)
- Examination of microstructure formation (contrasting method: HF, DF, POL, DIC), magnification range: 12.5:1 to 3,000:1
- Purity investigations (also by image analysis)
- Determination of phase fractions (also by image analysis)
- Stereomicroscopy, magnification range: 4:1 to 180:1
Metallographic investigations (electron optics, X-ray imaging)
- FE-SEM, magnification range 12.5:1 to 1,000,000:1
- Electron-optical detectors: RE, SE, VPSE, In-Lense; analytical detector: EDX (80 mm²)
- Investigation of microstructures and segregations
- Investigation of inclusions
- Fractographic investigations
- Topography of surfaces
- Phase determination by X-ray diffractometer
Determination of magnetic characteristics
- Hysteresis (coercive field strength, remanence, loss density)
- New curve
- Relative permeability
Determination of geometric quantities and surface parameters
- Roundness, radial run-out, concentricity and other geometric parameters using a formtester
- Testing of the surface topography such as peak-to-valley height using the stylus method


